Hello,
Taking into account the interest in this functionality, we decided to add the possibility to manage Office 365 services users-wise in one of the future releases of Adaxes. This feature is assigned a high priority.
Until such a release is available, we can suggest the following workaround: all Office 365 services enabled for a certain user can be stored in a certain multi-valued attribute of the user account, 1 value for each service. To activate or deactivate a certain service for a user, one needs to add or remove the corresponding value from the property:

For this purpose, you can use one of Adaxes Custom Attributes (e.g. CustomAttributeTextMultiValue1). They are not stored in Active Directory, but can be used the same as any other attributes of AD objects.
In addition to that, you can create a Scheduled Task that will populate a list of available Office 365 services as a drop-down list. In this case, when editing the attribute, users will be able to select a necessary service from a list rather than typing the service name manually.
To implement the workaround, you need to do the following:
- Create a Business Rule triggered after modifying the attribute that activates and deactivates Office 365 services based on the attribute value.
- Create a Custom Command that saves Office 365 services enabled for each user into the multi-valued attribute of their account.
- Create a Scheduled Task that runs the Custom Command in step ii. on a periodical basis.
This is necessary to populate the attribute for users who already have an office 365 account and also in case if someone activates / deactivates the services outside of Adaxes, for example, using the Office 365 Portal.
- Create a Business Rule that runs the Custom Command in step ii. after modifying Office 365 properties of a user.
This is necessary to populate the attribute for new Office 365 users and update it if someone assigns / revokes an Office 365 license using Adaxes built-in functionality.
- Create a Scheduled Task that populates a list of available Office 365 properties as a list of possible values.
- Add attribute to the Web Interface forms for viewing and modifying users.
- Change the display name of the attribute so that users can understand what it is used for.
i. Create Business Rule that activates and deactivates Office 365 services
To create a Business Rule that activates or deactivates Office 365 services based on the value of a multi-valued attribute:
- Create a new Business Rule.
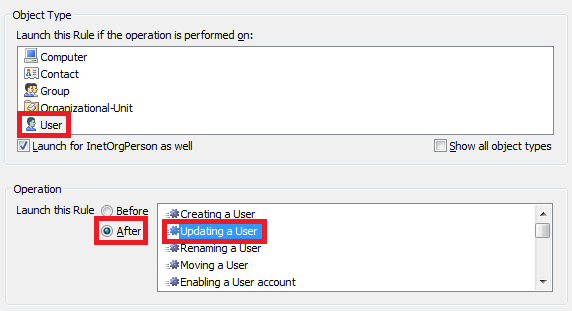
- On step 2 of the Create Business Rule Wizard, select User and After Updating a User.
- On step 3, add the Run a program or PowerShell script action and paste the following script from our Script Repository: http://www.adaxes.com/script-repository ... e-s475.htm.
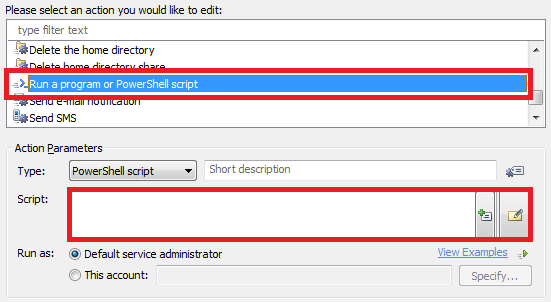
- Modify the parameter of the script as necessary, add a short description and click OK.
- Right-click the action you've just added and click Add Condition.

- Select If changed.
- Specify If CustomAttributeTextMultiValue1 has changed, where CustomAttributeTextMultiValue1 is the attribute that holds a list of services enabled for a user.
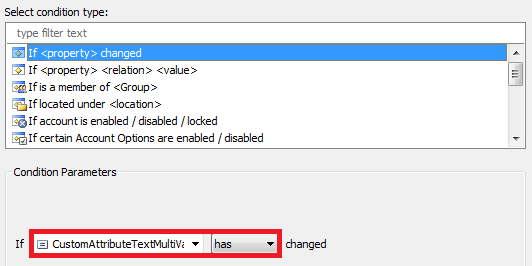
- Click OK. You should receive something like this:

- Finish creation of the Business Rule.
ii. Create Custom Command to populate the attribute
To create a Custom Command that Populates the attribute with a list of services enabled for a user:
- Create a new Custom Command.
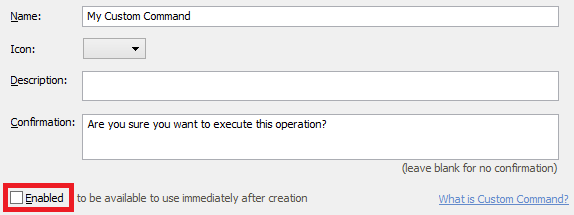
- On step 1 of the Create Custom Command Wizard, clear the Enabled option if you are not planning to execute it manually.
- On step 2, select User.
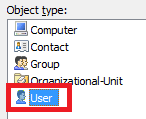
- On step 3, add the Run a program or PowerShell script action and paste the following script from our Script Repository: http://www.adaxes.com/script-repository ... e-s128.htm.

- Modify the parameter of the script as necessary, add a short description and click OK.
- Click Next, then click Finish.
iii. Create Scheduled Task that updates the attribute for users on a periodical basis
To create a Scheduled Task that updates the attribute of a user with a list of enabled Office 365 services:
- Create a new Scheduled Task.
- On step 3, select User.

- On step 4, add the Execute a Custom Command action.
- Click Select.
- Select the Custom Command you created on step ii.
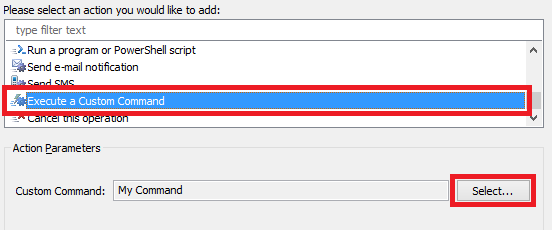
- Click OK 2 times.
- Finish creation of the Scheduled Task.
iv. Create Business Rule that updates the attribute for users after modifying Office 365 properties
To create a Business Rule that updates the attribute of a user upon creating an Office 365 account or modifying Office 365 properties:
- Create a new Business Rule.
- On step 2 of the Create Business Rule Wizard, select User and After Modifying Office 365 properties of a User.
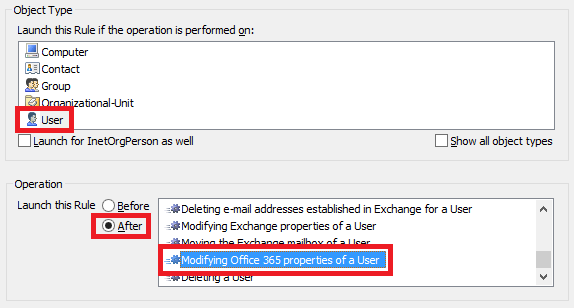
- On step 4, add the Execute a Custom Command action.
- Click Select.
- Select the Custom Command you created on step ii.

- Click OK 2 times.
- Finish creation of the Business Rule.
v. Create Scheduled Task that populates available Office 365 services as a drop-down list
To present the available Office 365 plans as a drop-down list when editing the attribute, it is necessary to update a Property Pattern applied to users. By default, the built-in User Pattern is applied to all users in your AD. It is necessary to add an Property Pattern item for the attribute and specify the available Office 365 services as possible attribute values. To create a Scheduled Task that does that automatically on a periodical basis:
- Create a new Scheduled Task.
- On step 3, select Show all object types.
- Select Domain-DNS.
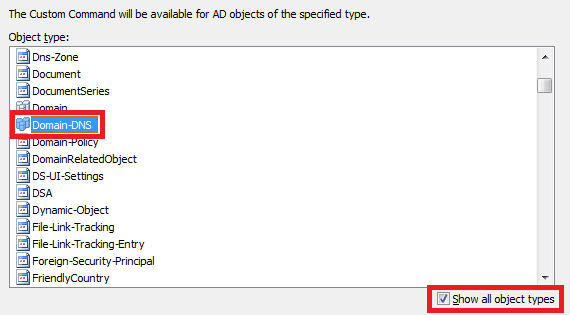
- On step 4, add the Run a program or PowerShell script action and paste the following script from our Script Repository: http://www.adaxes.com/script-repository ... t-s476.htm.

- Modify the parameters of the script as necessary, add a short description and click OK.
- On the final step, add any of your AD domains in the Activity Scope. The domain will be used only to trigger the script and won't affect the scope of users the pattern applies to.
- When done, click Finish.
vi. Add the attribute to Web Interface forms for viewing and modifying users
For information on how to do that, see Customize Forms for User Creation and Editing, starting from step 6.
vii. Change the display name of the attribute
For information on how to change the name under whicch the attribute appears everywhere in Adaxes, see the following help article: http://www.adaxes.com/help/?HowDoI.Mana ... Names.html.